5 DIY Hamster Cage Ideas You Can Build at Home
Building a DIY hamster cage is a fun and rewarding project that can give your furry friend a safer, larger, and more enriching home. Instead of buying an expensive commercial cage, you can create a custom habitat using affordable materials that are easy to find.
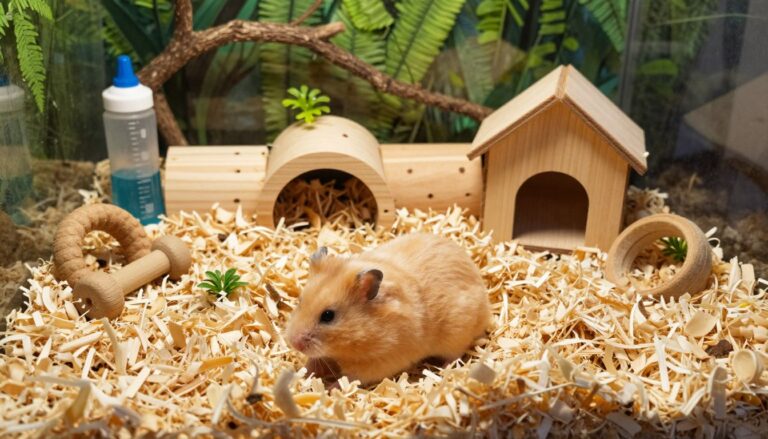
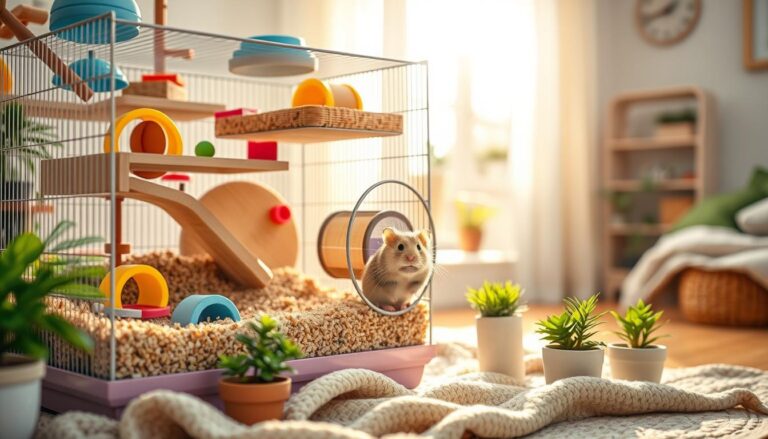
A well-designed hamster cage should provide enough space for running, digging, hiding, and exploring. It should also include proper ventilation, safe materials, and room for essential accessories such as a wheel, hideout, food bowl, water bottle, and bedding.
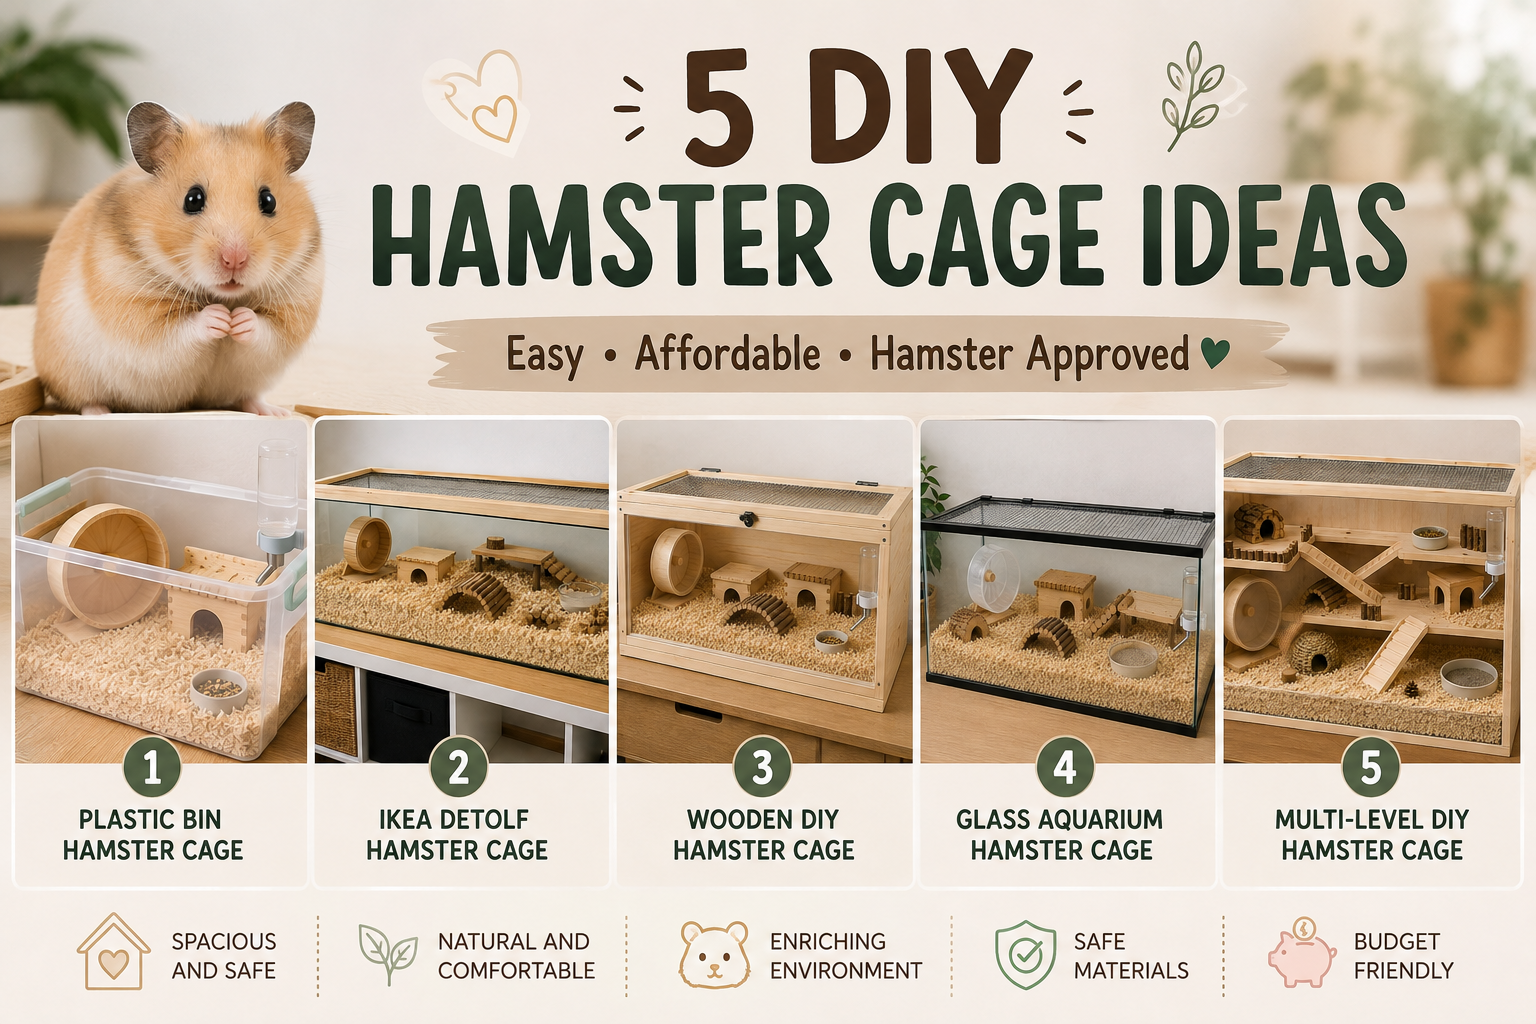
In this guide, we’ll share five easy DIY hamster cage ideas that are suitable for beginners. Each idea includes the materials you’ll need, simple building steps, and helpful tips to keep your hamster comfortable and happy.
Whether you’re caring for a Syrian hamster or a dwarf hamster, these creative DIY cage ideas will help you build a cozy home without spending a fortune. Let’s get started!
DIY Hamster Cage Ideas
1. Plastic Storage Bin Hamster Cage
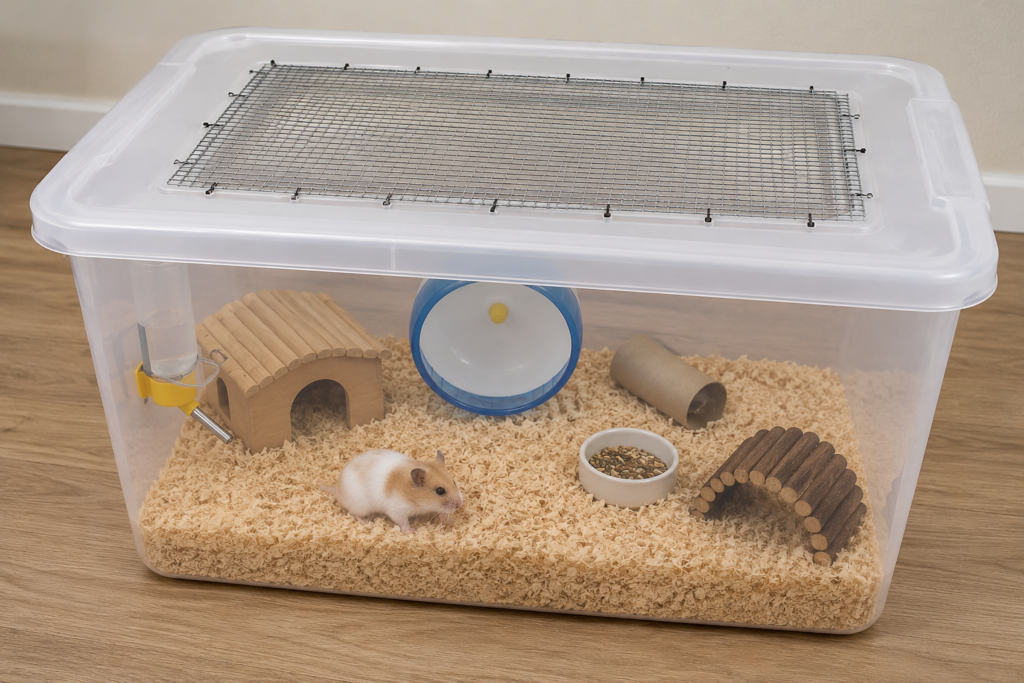
A plastic storage bin cage is one of the easiest and most affordable DIY hamster cages you can build. It offers plenty of space for your hamster to run, dig, and play while costing much less than many pet store cages. Clear plastic bins also make it easy to watch your hamster without disturbing it.
Materials You’ll Need
- A large clear plastic storage bin (at least 100–150 liters)
- Metal wire mesh
- Utility knife or box cutter
- Zip ties or small nuts and bolts
- Sandpaper
- Measuring tape
- Marker
Step 1: Choose the Right Storage Bin
Select a sturdy, transparent plastic storage bin with a secure lid. A larger bin provides more room for your hamster to exercise and explore. Avoid small bins, as hamsters need plenty of floor space to stay healthy and active.
Step 2: Mark the Ventilation Area
Using a marker, draw a large rectangle in the center of the lid. This opening will be covered with wire mesh to provide fresh airflow while keeping your hamster safe inside.
Step 3: Cut the Opening
Carefully cut along the marked lines using a utility knife. Smooth any rough or sharp edges with sandpaper to prevent injuries.
Step 4: Attach the Wire Mesh
Place the wire mesh over the opening and secure it tightly with zip ties or small nuts and bolts. Make sure there are no gaps where your hamster could escape.
Step 5: Add Bedding and Accessories
Fill the cage with deep paper-based bedding, then add a running wheel, hideout, food bowl, water bottle, chew toys, and a few tunnels to create a comfortable and enriching habitat.
Pro Tip: Place the cage in a cool, quiet room away from direct sunlight and drafts to keep your hamster healthy and stress-free.
2. IKEA Detolf Hamster Cage
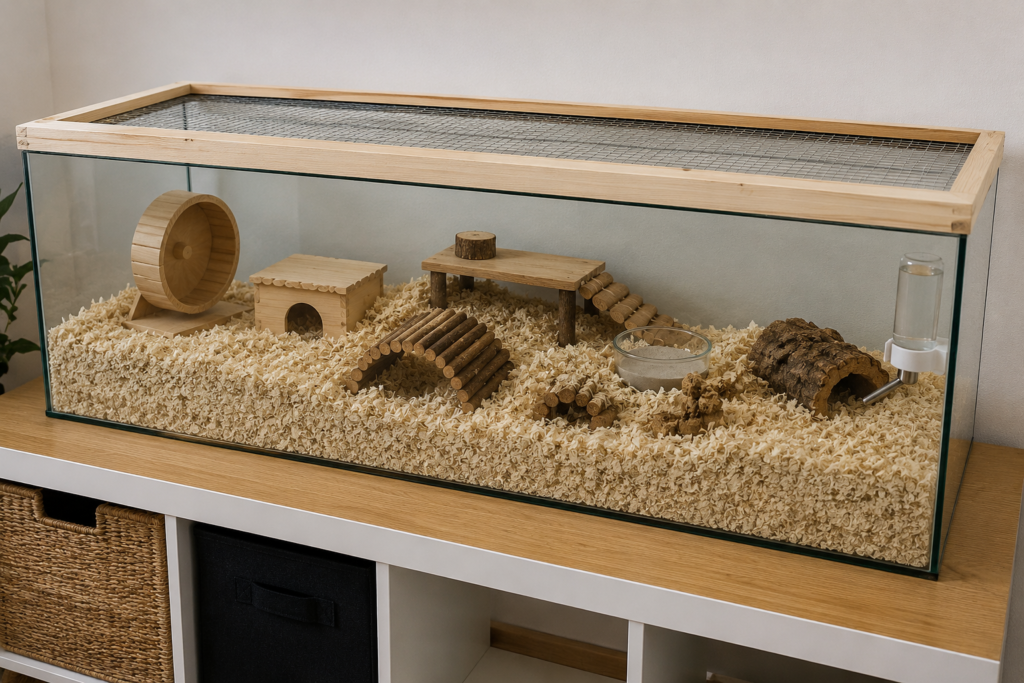
If you’re looking for a modern and spacious hamster home, an IKEA Detolf cabinet can be transformed into an amazing DIY cage. Thanks to its long glass design, your hamster gets plenty of floor space for running, digging, and exploring. Many experienced hamster owners consider this one of the best DIY cage options.
Materials You’ll Need
- IKEA Detolf glass cabinet
- Wooden stand or sturdy table
- Wire mesh lid
- Wood frame for the lid
- Screws or staples
- Deep paper-based bedding
- Hamster accessories
Step 1: Assemble the Cabinet
Build the IKEA Detolf cabinet by following the manufacturer’s instructions. Place it horizontally on a strong table or custom wooden stand so it becomes a long hamster enclosure.
Step 2: Build a Mesh Lid
Create a lightweight wooden frame that fits the top of the enclosure. Attach wire mesh securely to the frame to provide excellent ventilation while preventing escapes.
Step 3: Add Deep Bedding
Fill the bottom with 8–12 inches (20–30 cm) of paper-based bedding. Deep bedding allows your hamster to dig natural tunnels and display healthy burrowing behavior.
Step 4: Decorate the Habitat
Add a large exercise wheel, wooden hideouts, tunnels, cork logs, sand bath, chew toys, and climbing accessories. Arrange everything so your hamster has open running space as well as quiet hiding areas.
Step 5: Perform a Safety Check
Before introducing your hamster, make sure the lid fits securely, all decorations are stable, and there are no sharp edges inside the enclosure.
Pro Tip: Add natural wood branches and cork tunnels to create a more realistic environment that keeps your hamster active and mentally stimulated.
3. Wooden DIY Hamster Cage
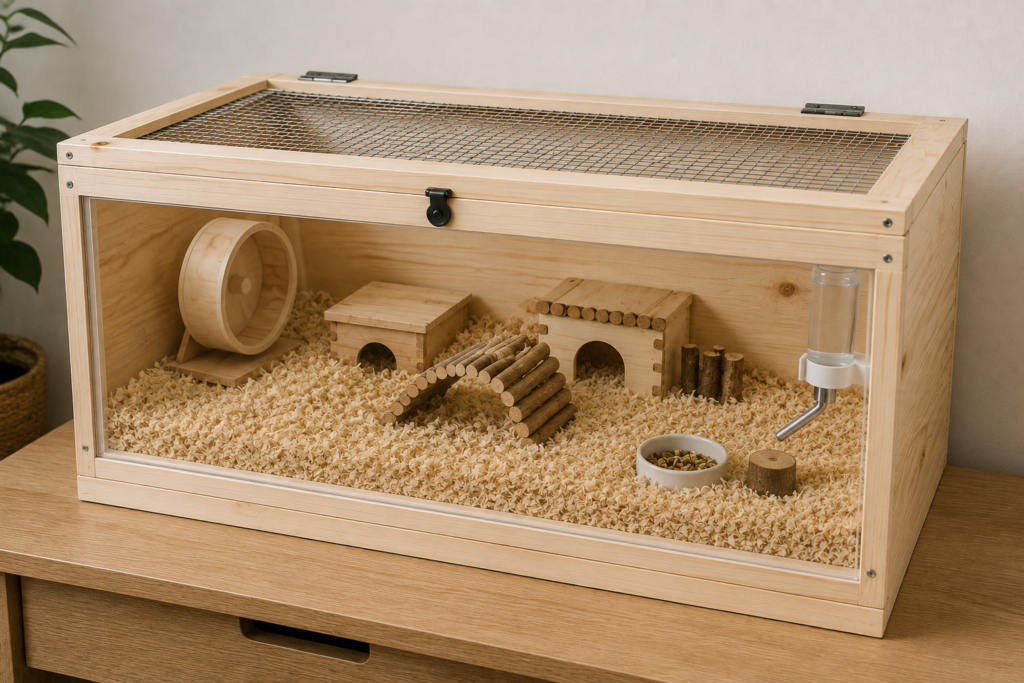
A wooden hamster cage is a great choice if you want a natural-looking habitat that blends beautifully with your home. With proper planning and safe materials, you can build a spacious enclosure that gives your hamster plenty of room to run, dig, and explore.
Materials You’ll Need
- Plywood or untreated wooden boards
- Clear acrylic sheet for the front panel
- Wood screws
- Wood glue
- Wire mesh
- Hinges
- Sandpaper
- Non-toxic wood sealant (optional)
Step 1: Build the Wooden Frame
Cut the wooden panels to the desired size and assemble the base, sides, and back using wood screws and wood glue. Make sure the frame is sturdy and level before moving on.
Step 2: Install the Front Window
Attach a clear acrylic sheet to the front of the cage. This allows you to watch your hamster while keeping the bedding safely inside.
Step 3: Create a Ventilated Lid
Build a simple wooden frame for the lid and attach wire mesh to it. Install the lid using hinges so it can be opened easily for cleaning and feeding.
Step 4: Fill the Cage
Add 8–12 inches (20–30 cm) of paper-based bedding, then place a large exercise wheel, hideouts, food dish, water bottle, tunnels, and chew toys inside.
Step 5: Inspect Everything
Check that all screws are secure, there are no sharp edges, and the lid closes tightly. The cage should be safe, stable, and well ventilated before your hamster moves in.
Pro Tip: Use untreated wood whenever possible, as painted or chemically treated wood may not be safe if your hamster chews on it.
4. Glass Aquarium Hamster Cage
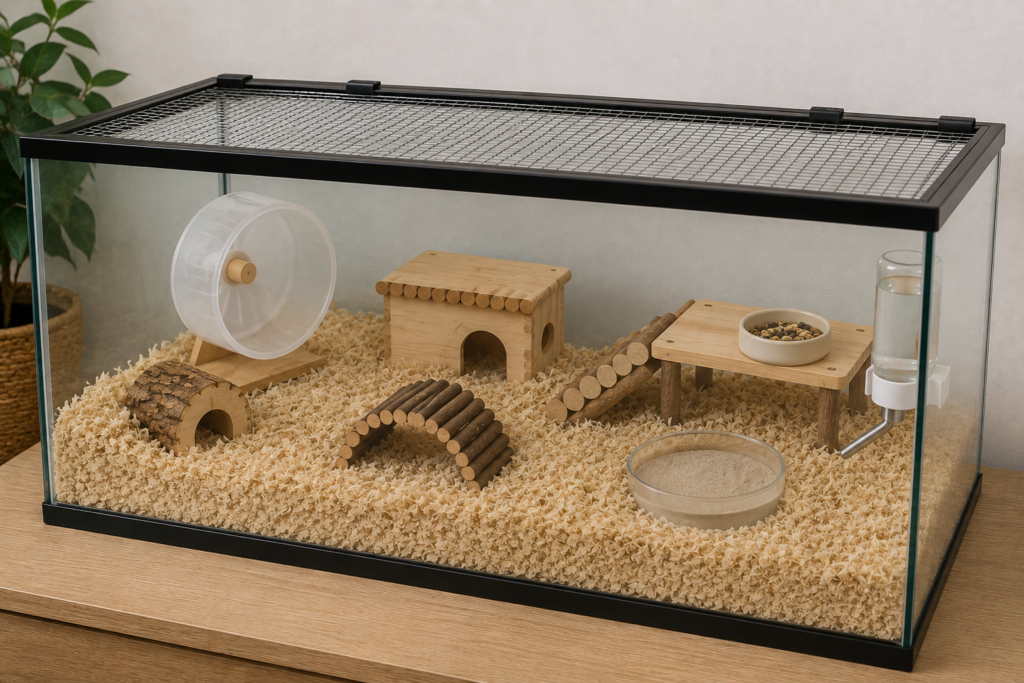
A glass aquarium can be turned into a beautiful and practical hamster cage. It provides excellent visibility, holds deep bedding securely, and creates a quiet environment for your hamster. Many second-hand aquariums are affordable, making this a great DIY option.
Materials You’ll Need
- A 40–75 gallon glass aquarium
- Wire mesh lid
- Lid clips or locking clips
- Deep paper-based bedding
- Exercise wheel
- Hideouts and tunnels
- Water bottle or water bowl
- Sand bath
Step 1: Clean the Aquarium
Wash the aquarium with warm water and dry it completely. Avoid using soap or chemical cleaners that could leave harmful residues.
Step 2: Install a Mesh Lid
Place a sturdy wire mesh lid on top of the aquarium. Secure it with lid clips to ensure your hamster cannot push it open while still allowing plenty of fresh air inside.
Step 3: Add Deep Bedding
Fill the tank with 8–12 inches (20–30 cm) of paper-based bedding. This gives your hamster enough depth to dig tunnels and build nests.
Step 4: Arrange the Accessories
Place a large running wheel, wooden hideouts, cork tunnels, food dish, water bottle, sand bath, and chew toys throughout the enclosure. Leave open space for running while creating several hiding spots.
Step 5: Final Safety Check
Check that the mesh lid is firmly attached, the wheel spins freely, and all accessories are stable. Your new glass enclosure is now ready for your hamster.
Pro Tip: Place the aquarium away from direct sunlight to prevent overheating, as glass can trap heat during warm days.
5. Multi-Level DIY Hamster Cage
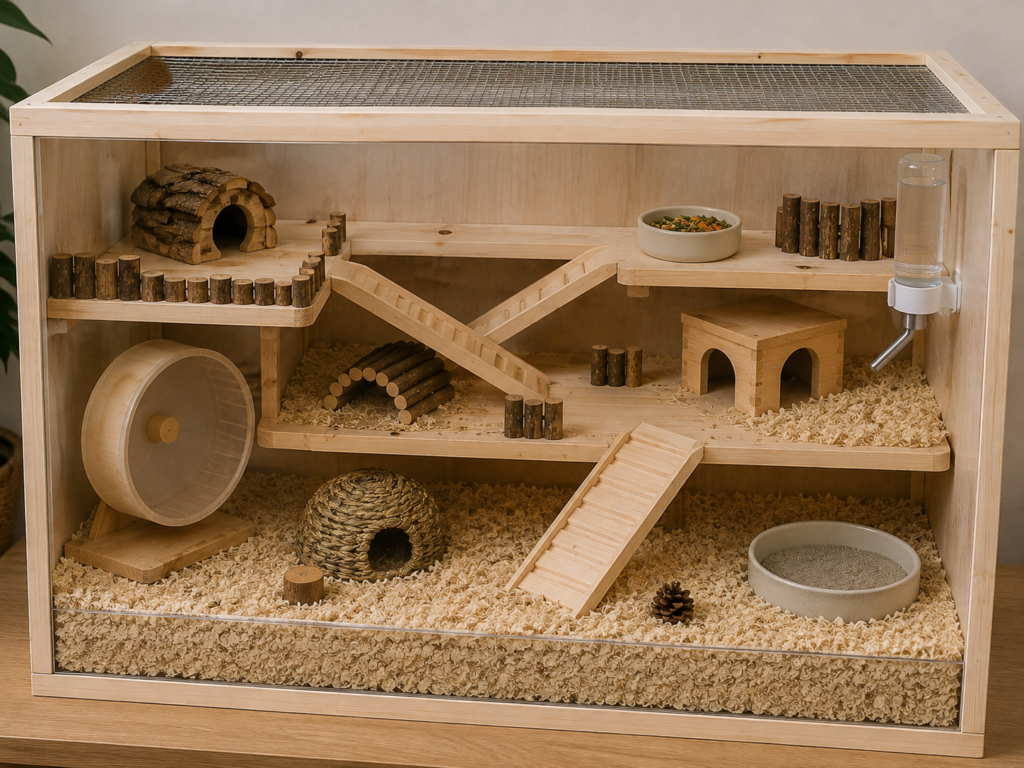
A multi-level DIY hamster cage is a great way to create extra activity areas while keeping everything organized. By adding wooden platforms and ramps, you can separate sleeping, feeding, and play zones, making your hamster’s home more interesting and enriching.
Materials You’ll Need
- A large wooden or glass enclosure
- Untreated wooden platforms
- Wooden ramps
- Screws or non-toxic wood glue
- Paper-based bedding
- Exercise wheel
- Food bowl and water bottle
- Hideouts and chew toys
Step 1: Build the Base Cage
Start with a spacious enclosure that provides plenty of floor space. A larger base allows your hamster to move freely and gives you room to add multiple levels.
Step 2: Install the Platforms
Attach two or three wooden platforms at different heights. Leave enough open space underneath so your hamster can still dig and build tunnels in the bedding.
Step 3: Add Safe Ramps
Connect each platform with sturdy wooden ramps. Make sure the ramps have enough grip so your hamster can climb safely without slipping.
Step 4: Organize Each Level
Place the food bowl and water bottle on one platform, the sand bath on another, and use the ground level for deep bedding, hideouts, and the exercise wheel.
Step 5: Check Stability
Test every platform and ramp before placing your hamster inside. All parts should be secure with no loose pieces or sharp edges.
Pro Tip: Avoid making the platforms too high. Hamsters are curious climbers, but lower levels reduce the risk of injury if they fall.
Conclusion
Building a DIY hamster cage is a rewarding project that allows you to create a safe, spacious, and enriching home for your pet while saving money. Whether you choose a plastic storage bin, an IKEA Detolf setup, a custom wooden enclosure, a glass aquarium, or a multi-level habitat, the most important goal is providing enough space, proper ventilation, and a comfortable environment for your hamster.
Remember to use only hamster-safe materials, provide deep bedding for burrowing, and include essential accessories such as a large exercise wheel, hideouts, chew toys, fresh water, and a balanced diet. Regular cleaning and routine safety checks will help keep your hamster healthy and happy for years to come.
We hope these 5 DIY hamster cage ideas have inspired you to build the perfect habitat for your furry friend. With a little creativity and the right materials, you can create a home that your hamster will truly enjoy.
Happy building!